#1
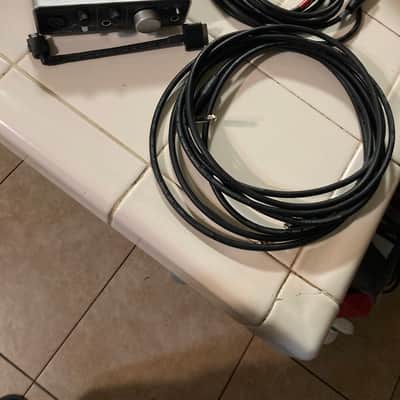
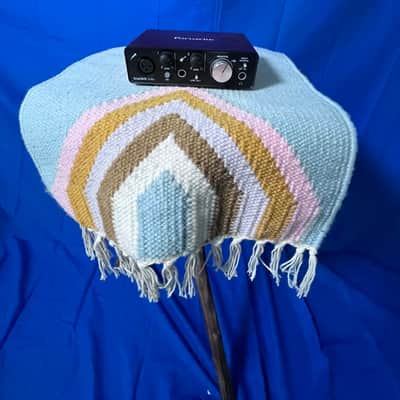
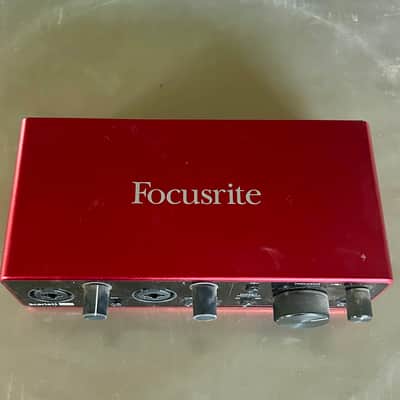
Focusrite Scarlett Solo Studio Bundle
2-in/2-out interface + condenser mic + headphones · Scarlett Solo USB audio interface, Condenser microphone, Studio headphones, XLR cables, software bundle (Ableton Live Lite, Pro Tools Artist)$180–$220 newBest for: Solo performers, singers, acoustic instrument recording, podcasters, easiest beginner setup
The Focusrite Scarlett Solo is the industry standard for home recording beginners — Focusrite's USB audio interface is the most widely used interface in home studios worldwide. The Scarlett Solo has one microphone input and one instrument input (guitar/bass), clean preamp, and built-in headphone monitoring. The bundle includes a basic large-diaphragm condenser microphone, studio headphones, and cables. Ableton Live Lite is a powerful DAW included with the bundle (subscription-free, perpetual license). The Scarlett Solo requires no external power — USB bus-powered. New at $180–$220.
What to check used: The Scarlett Solo has only ONE microphone input — if you want to record drums, multiple vocalists, or band arrangements, you need a larger interface (PreSonus AudioBox iTwo, Behringer UMC202HD). The included microphone is entry-level; upgrading to an Audio-Technica AT2020 later improves recording quality significantly. Ableton Live Lite is not the full Ableton Live — upgrading costs $450–$750.
#2
PreSonus AudioBox iTwo Studio Bundle
2-in/2-out interface + microphone + headphones · AudioBox iTwo USB interface, Condenser microphone, Studio headphones, XLR/instrument cables, PreSonus Studio One Artist$200–$250 newBest for: Two simultaneous inputs (vocals + guitar), fuller feature set, PreSonus Studio One included
The PreSonus AudioBox iTwo is a step up from the Scarlett Solo — it has two microphone inputs (with phantom power for condenser mics) and stereo line inputs, allowing you to record vocals and guitar simultaneously, or drums via stereo room mics. The audio quality is comparable to Scarlett but the interface is more feature-rich. The bundle includes a condenser microphone, studio headphones, and PreSonus Studio One Artist (their DAW, similar to Ableton Live Lite but with full-featured mixing capabilities). New at $200–$250.
What to check used: The AudioBox iTwo is larger than the Scarlett Solo and requires more desk space. PreSonus Studio One is well-designed but smaller user base than Ableton Live — fewer third-party plugins and tutorials available online. If you plan to eventually use professional plugins and DAWs, the learning curve investing in Studio One may not transfer as directly.
#3
Behringer U-Phoria UMC202HD Studio Kit
2-in/2-out interface + XLR condenser mic + headphones · UMC202HD USB interface, Condenser microphone, Monitor headphones, XLR cables, Behringer software bundle$120–$160 newBest for: Budget-conscious beginners, great value for money, dual mic inputs with phantom power
The Behringer U-Phoria UMC202HD is the most affordable entry-level recording interface with dual mic inputs and phantom power — allowing you to record two microphones simultaneously or one high-impedance condenser mic. Build quality is surprisingly good for the price; the audio converters are clean and comparable to interfaces costing 3–4x more. The kit includes a basic large-diaphragm condenser, monitor headphones, and XLR cables. Behringer software bundle includes REAPER (unlimited 60-day trial, functional after trial) and Tracktion Waveform (full DAW included). New at $120–$160.
What to check used: Behringer's reputation is 'budget but reliable' — the UMC202HD is solid but not premium. Some recordings engineers avoid Behringer on principle, though the sound quality is objectively indistinguishable from more expensive interfaces in blind tests. The included microphone is basic; upgrading is worth it. REAPER's interface is steep for beginners but is the most powerful DAW per dollar.
#4
Rode NT1 Microphone + Interface Bundle
Rode cardioid large-diaphragm mic + Focusrite Solo interface · Rode NT1 XLR microphone, Focusrite Scarlett Solo interface, XLR cable, shock mount, pop filter, headphones$280–$320 newBest for: Vocals, podcasting, acoustics, upgrading from bundled mics, Rode NT1 professional quality
This bundle pairs the Rode NT1 — a professional-grade large-diaphragm condenser microphone used in studios worldwide — with the Focusrite Scarlett Solo interface. The Rode NT1 is known for clean, detailed vocal recording with low self-noise (very quiet when no input) and a slight presence peak that adds clarity to vocals. Unlike bundled kit microphones, the Rode NT1 is a microphone that professionals actually use; upgrading from kit microphones to the Rode NT1 makes an audible difference in recording quality. The bundle includes shock mount, pop filter, and cables. New at $280–$320.
What to check used: The Rode NT1 is cardioid (rejects sound from sides/back) — room noise, air conditioning, and echo are more noticeable than with less directional mics. Acoustic treatment (foam panels, bass traps) becomes important. The Rode NT1 has a presence peak in the 4 kHz region — some users perceive this as slightly 'bright' until they get used to it. This is by design and is considered a feature by most professional engineers.
#5
Audio-Technica AT2020 + Focusrite Scarlett Solo
AT2020 condenser mic + 2-in/2-out interface · Audio-Technica AT2020 side-address condenser, Focusrite Scarlett Solo USB interface, shock mount, pop filter, XLR cable, cables$250–$290 newBest for: Most versatile condenser microphone for all source material, neutral tone, professional standard
The Audio-Technica AT2020 is widely regarded as the best condenser microphone in the sub-$300 range — it is the microphone you will find in the most professional home recording studios in the $200–$400 microphone category. The AT2020 has a neutral, flat frequency response that works well on vocals, acoustic guitar, drums, and orchestral instruments without heavy equalization. It is more forgiving on harsh rooms than brighter microphones like the Rode NT1. The bundle includes the Focusrite Scarlett Solo interface, shock mount, pop filter, and cables. New at $250–$290.
What to check used: The AT2020 is a side-address microphone (you sing/play to the side of the capsule, not the end) — many beginners point the end at the sound source incorrectly. Correct technique: side of capsule faces the source, grille faces slightly upward. The AT2020 is slightly less bright than the Rode NT1; if you specifically want vocal clarity/presence, the Rode NT1 or a brighter mic like the Shure KSM8 may be preferred.
#6
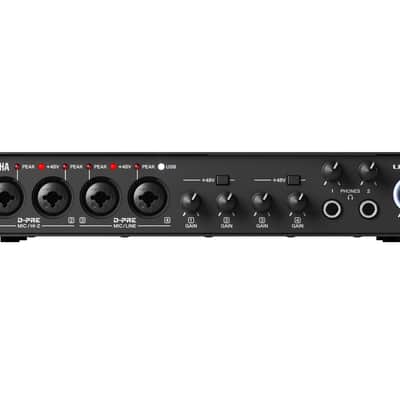
Yamaha AG03 Mixer Interface Bundle
3-channel analog mixer + USB audio interface + headphones · Yamaha AG03 mixer, USB interface with D-PRE preamp, Condenser microphone, Headphones, XLR cables, Cubase AI$200–$240 newBest for: Multiple simultaneous inputs (vocals + guitar + keyboard), live streaming, mixing while recording
The Yamaha AG03 is a 3-channel analog mixer with built-in USB audio interface — allowing you to record vocals, guitar, and keyboard simultaneously while monitoring the mix in real-time via analog mixing knobs. Unlike traditional audio interfaces, the AG03 lets you adjust levels and EQ on the fly without opening your DAW. The AG03 includes Yamaha's premium D-PRE preamp (clean, low-noise microphone preamplifier). Excellent for podcasters and livestreamers who need to blend multiple sources and adjust levels on the fly. New at $200–$240.
What to check used: The Yamaha AG03 takes up more desk space than a compact interface like the Scarlett Solo. Learning to use the analog mixer controls requires some getting used to; beginners often prefer the simplicity of an interface with level sliders in the DAW. The AG03 is overkill for simple single-track recording (vocals only) but excellent for complex multi-source sessions.
#7
Steinberg UR22C USB Audio Interface Bundle
2-in/2-out + MIDI audio interface + headphones · Steinberg UR22C interface, Condenser microphone, Monitor headphones, XLR/instrument cables, Cubase AI (DAW), Wavelab Cast plugin$220–$270 newBest for: MIDI keyboard support, Cubase integration, balanced audio converters, professional audio quality
The Steinberg UR22C is designed by the company that makes Cubase (industry-standard DAW) with high-quality audio converters (Presonus Quantum converters) that are used in professional studios. The UR22C includes MIDI I/O for keyboard/drum pad control. The bundle includes Cubase AI (subset of full Cubase with unlimited tracks but fewer built-in plugins), Wavelab Cast (podcast/streaming audio processor), and standard microphone + headphones. The audio quality and preamp clarity are professional-grade. New at $220–$270.
What to check used: The Steinberg UR22C is slightly more expensive than comparable Focusrite or PreSonus interfaces. The value proposition is the included Cubase AI — if you plan to use Ableton Live Lite or Studio One Artist instead, the Steinberg advantage is reduced. MIDI I/O is valuable only if you own a keyboard or drum pad.